
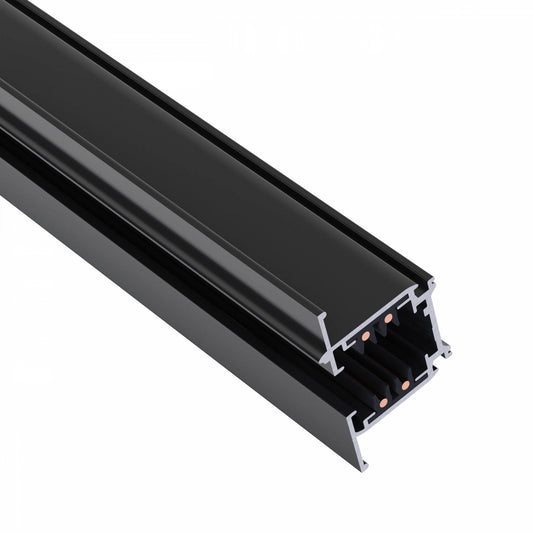
3-Phase 230V track lighting system
Assistant for your LED Track System
This assistant helps you plan your rail system and recommends suitable products from our range. For complex rooms or individual planning, please contact us directly via our contact form.
NOTE: The assistant only indicates the number of components required.
Schritt 1 von 6: Raumgröße
Schritt 2 von 6: Wandabstand
Empfehlung: 30–50 cm für optimale Ausleuchtung. Der Abstand gilt auf jeder Seite.
Schritt 3 von 6: Montageart
Schritt 4 von 6: Form & Farbe
Schritt 5 von 6: Stückliste prüfen
Basierend auf Ihren Angaben haben wir folgende Artikel berechnet. Schienen werden niemals geschnitten — zuerst 2 m, dann mit 1 m aufgefüllt.
Schritt 6 von 6: Strahler
Standard: 1 m. Die Anzahl der Strahler wird automatisch berechnet.
✅ Ihre vollständige Konfiguration
Zum Kopieren (Text mit URLs):


-
Mounting Clip for 3-Phase Track Black
In stockRegular price €0,89 EURRegular price€0,00 EURSale price €0,89 EUR -
Universal Suspension Kit 1.5m for 3-Phase Track, Set of 2
In stockRegular price €5,90 EURRegular price€0,00 EURSale price €5,90 EUR -
Suspension kit for high ceilings 8m for 3-phase track 2-piece set
In stockRegular price €9,90 EURRegular price€0,00 EURSale price €9,90 EUR -
Universal Suspension Set 3m for 3-Phase Track 2-piece Set
In stockRegular price €6,90 EURRegular price€0,00 EURSale price €6,90 EUR -
Cover Strip for 3-Phase Track 2m Black
In stockRegular price €6,90 EURRegular price€0,00 EURSale price €6,90 EUR -
Cross Connector Busbar 3-Phase White
In stockRegular price €9,79 EURRegular price€0,00 EURSale price €9,79 EUR -
T-Connector 3-Phase Left Adjustable White
Regular price €19,89 EURRegular price€0,00 EURSale price €19,89 EURSold out -
CHLOE SLIM LED Pendant Lamp 3-Phase Ø40mm GU10 Black
In stockRegular price €13,49 EURRegular price€0,00 EURSale price €13,49 EUR -
LUMICANTO LED Track Spotlight 3-Phase 30-42W 90° CCT 120cm White
In stockRegular price €81,49 EURRegular price€0,00 EURSale price €81,49 EUR -
LUMICANTO LED Track Light 3-Phase 30-42W 90° CCT 120cm Black
In stockRegular price €81,49 EURRegular price€0,00 EURSale price €81,49 EUR -
Bluetooth Speaker LED Track Light 3-Phase 10W Black
In stockRegular price €89,90 EURRegular price€0,00 EURSale price €89,90 EUR -
Flexible Connector for Busbar 3-Phase Black
In stockRegular price €8,79 EURRegular price€0,00 EURSale price €8,79 EUR -
T-connector L1-L2 adjustable 3-phase left Black
In stockRegular price €19,89 EURRegular price€0,00 EURSale price €19,89 EUR -
L-Connector Adjustable Track Lighting 3-Circuit Right Left Black
In stockRegular price €5,99 EURRegular price€0,00 EURSale price €5,99 EUR -
T-connector R1-R2 adjustable 3-phase right Black
In stockRegular price €19,89 EURRegular price€0,00 EURSale price €19,89 EUR -
PAVA BASIC LED Tracklight 3-Phase 20W 20/45° CCT Black
In stockRegular price €32,99 EURRegular price€0,00 EURSale price €32,99 EUR -
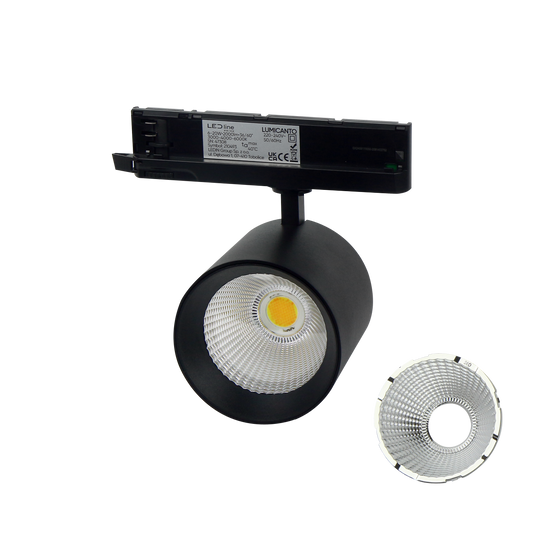
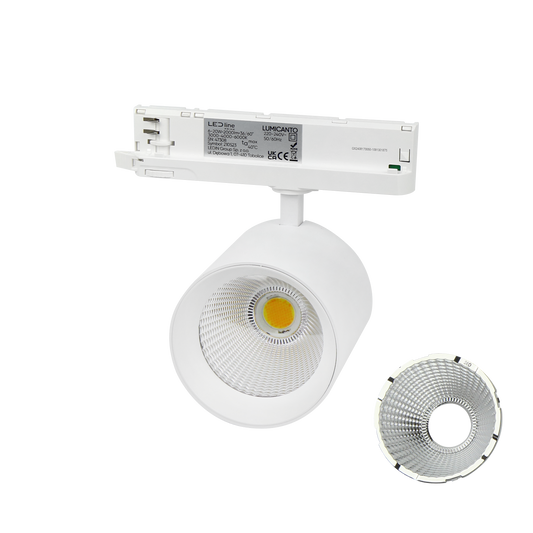
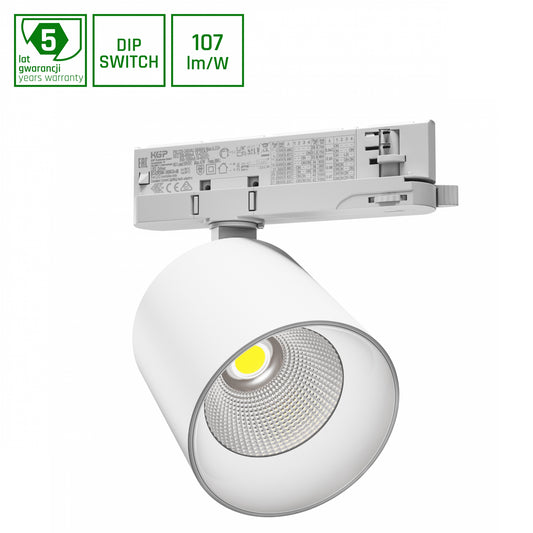
LUMICANTO LED Track Light 3-Phase 6-20W 36/60° CCT White
In stockRegular price €49,79 EURRegular price€0,00 EURSale price €49,79 EUR -
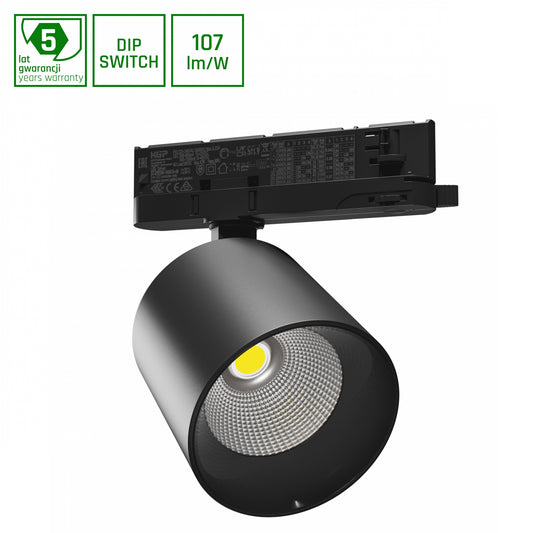
LUMICANTO LED Track Light 3-Phase 6-20W 36/60° CCT Black
In stockRegular price €49,79 EURRegular price€0,00 EURSale price €49,79 EUR -
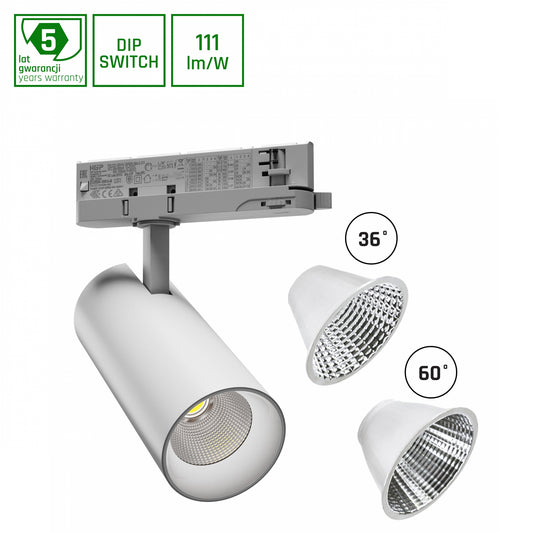
LUMICANTO LED Track Spotlight 3-Phase 12-42W 36/60° CCT White
In stockRegular price €54,99 EURRegular price€0,00 EURSale price €54,99 EUR -
LUMICANTO LED Track Light 3-Phase 14-29W 36/60° CCT White
In stockRegular price €51,59 EURRegular price€0,00 EURSale price €51,59 EUR -
LUMICANTO LED Track Light 3-Phase 14-29W 36/60° CCT Black
In stockRegular price €51,59 EURRegular price€0,00 EURSale price €51,59 EUR -
ANDROMEDA LED Tracklight 3-Phase 24W 25° CCT White
In stockRegular price €28,99 EURRegular price€0,00 EURSale price €28,99 EUR -
Cross Connector Busbar 3-Phase White
In stockRegular price €9,79 EURRegular price€0,00 EURSale price €9,79 EUR -
T-Connector Cable Connector 3-Phase Left Black
In stockRegular price €8,99 EURRegular price€0,00 EURSale price €8,99 EUR -
3-Phase Track 1m Black
In stockRegular price €19,90 EURRegular price€0,00 EURSale price €19,90 EUR -
PAVA 2 LED Track Spotlight 3-Phase 19-42W 20/45° Neutral White Black
In stockRegular price €80,89 EURRegular price€0,00 EURSale price €80,89 EUR -
PAVA 2 LED Track Light 3-Phase 19-42W 20/45° Warm White Black
In stockRegular price €69,90 EURRegular price€0,00 EURSale price €69,90 EUR -
PAVA 2 LED Track Spotlight 3-Phase 19-42W 20/45° Warm White
In stockRegular price €74,90 EURRegular price€0,00 EURSale price €74,90 EUR -
OPTIBAR LED Track Spotlight 3-Phase 12-42W 90° CCT Black
In stockRegular price €89,99 EURRegular price€0,00 EURSale price €89,99 EUR -
ARTEMIDA MAXI LED Track Light 3-Phase 12-42W 36/60° Warm White White
In stockRegular price €49,90 EURRegular price€0,00 EURSale price €49,90 EUR -
ARTEMIDA MAXI LED Track Spotlight 3-Phase 12-42W 36/60° Neutral White Black
In stockRegular price €53,39 EURRegular price€0,00 EURSale price €53,39 EUR -
ARTEMIDA MAXI LED Track Light 3-Phase 12-42W 36/60° Warm White Black
In stockRegular price €49,90 EURRegular price€0,00 EURSale price €49,90 EUR -
ARTEMIDA MINI LED Tracklight 3-phase 6.5-20W 36/60° Warm White Black
In stockRegular price €41,99 EURRegular price€0,00 EURSale price €41,99 EUR -
ARTEMIDA MINI LED Tracklight 3-Phase 6.5-20W 36/60° Warm White White
In stockRegular price €41,99 EURRegular price€0,00 EURSale price €41,99 EUR -
ANDROMEDA LED Tracklight 3-Phase 15-27W 36/60° Warm White White
In stockRegular price €42,69 EURRegular price€0,00 EURSale price €42,69 EUR -
MADARA MINI RING LED Pendant Light 3-Phase Ø55mm GU10 White
In stockRegular price €16,89 EURRegular price€0,00 EURSale price €16,89 EUR


Frequently Asked Questions
What is the advantage of a 230V track system over low-voltage systems?
The biggest advantage of a 230V high-voltage track system is its simple installation. Unlike 12V or 48V systems, you don't need a transformer. The tracks are connected directly to the existing ceiling outlet. In addition, significantly longer track lengths and a higher number of luminaires can be realized without any voltage drop.
What is the difference between 1-phase and 3-phase tracks?
1-Phase System: All spotlights on the track are switched on or off, or dimmed, simultaneously. 3-Phase System: The track has three separate circuits. With a suitable series switch, you can control three different groups of lights independently – ideal for combined general lighting and accent lighting.
Are 230V track lighting systems dimmable?
Yes, as a rule these systems are excellently dimmable. Since no transformers are connected, the dimming capability primarily depends on the lamps used (e.g., dimmable LED reflectors) and the appropriate wall dimmer. We recommend leading or trailing edge dimmers, depending on the specifications of the LED spotlights.
Can I shorten the rail system myself?
Yes, most 230V aluminum track lights can be easily cut to the desired length with a fine-toothed metal saw. Please note that after sawing, the copper conductors may need to be slightly bent back to ensure perfect contact with the end caps and connectors.
What accessories do I need for a complete installation?
For a complete installation, you will need: track rails in the desired length, a power feed (end or middle feed), straight and corner connectors, end caps, and suitable track spotlights or pendant lamp adapters.
3-Phase Track System 230V Installation Manual
Collection: Rail system - 230V
The 3-phase track system 230V is the professional solution for sophisticated lighting concepts in showrooms, galleries, museums, hotels, and commercial spaces. Thanks to three independent circuits on a power track, various luminaire groups can be switched and dimmed separately – for maximum flexibility and modern lighting design.
Three circuits – unlimited possibilities with 230V
The 3-phase system allows up to three independent lighting scenarios to be realized on a single track. This is ideal for targeted accent lighting of exhibits, products, or architectural details. Discover our 3-phase LED tracks in various lengths for surface and recessed mounting.
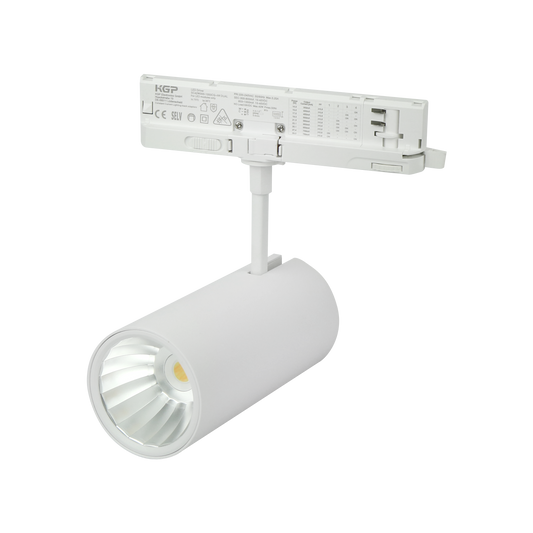
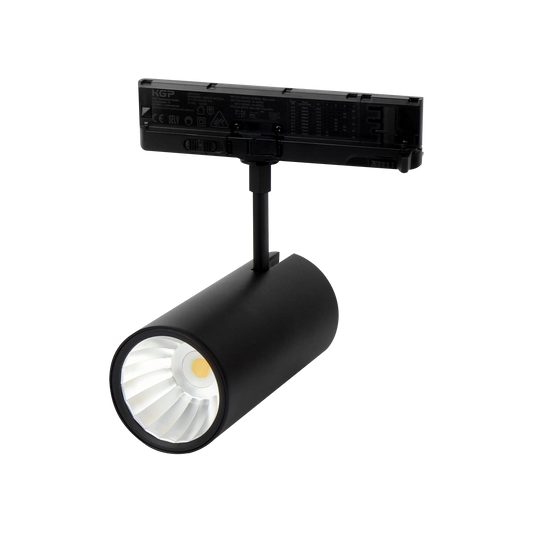
Suitable 3-phase LED spotlights for every requirement
Our track spotlights are freely positionable and can be swiveled in various directions. In our collection, you will find high-quality 3-phase LED luminaires, including GU10 spots, dimmable track spotlights, and CCT-adjustable models for the perfect light temperature.
Compatibility & accessories for track lighting
Our 3-phase track system is compatible with a variety of standard LED spotlights and accessories. All components are designed for direct operation with 230 volts. The matching 3-phase accessories – from power feeds to connectors and suspension kits – can also be found in our range.
Tip: For minimalist projects with a wireless look, we also offer the modern 48V track system as an alternative.

